

how to fix vertical blinds that won't rotate
Vertical blinds are inexpensive and easy-to-use window treatments. But, natural wear and tear can cause them to stop working properly. From blinds that will not rotate to torn vanes, jammed stems to lubrication issues, your window treatments can present a host of problems. The good news is that you can repair these snags on your own.
In this guide, we'll show you how to fix vertical blinds and easily repair some of the most common issues that come with this type of window treatment. So, gather your tools, and let's get down to work.
Tools and Supplies You Will Need
To fix common vertical blind issues, you will need the following:
- Flathead screwdriver
- Needle nose pliers
- Vane savers
Step-by-Step Guide To Fix Vertical Blinds
Use these tips to fix your vertical blinds.
Step 1: Check for common problems

If your blinds are not working properly, the problem could be a small one such as overlapping or backward-facing plats or lubrication issues.
- Turn over overlapping or backward facing panels
Often, when vanes won't close or open it is because one or more is facing the wrong direction and/or some of the panels are riding on top of each other.
Inspect each panel individually. If a panel is facing backward, gently turn it around to face forward. For overlapping panels, simply use your hands to separate the panels to keep them from riding on each other. The blinds should now rotate easily.
- Apply lubricant
Sometimes, the blinds might not rotate because of friction between the vanes, stems, and carrier rod. If this is the case, a little lubrication will go a long way. Apply a general-use lubricant in the area between the stem carrier, stem, and the blinds. This might reduce the friction and help the blinds to open and close smoothly.
- Check for and remove blockages
Another reason why blinds might refuse to rotate is that something as small as a dust particle or a piece of the blinds might be lodged in the carrier. Before moving on to other repairs, first, inspect the stems to make sure that nothing is keeping them from rotating properly. Remove any items that might be obstructing the blinds.
Pro Tip: Consider using a small, portable hand vacuum to remove dust and debris from the entire blinds system including the vanes, stem carriers, and rod. Lubricate the carrier stem and rod if necessary to ensure that the blinds close and open easily.
Step 2: Repair a broken blind using vane savers
Another common problem is when a panel breaks at the top, leaving a gaping hole. If just one or two panels are broken, buying a new set of vertical blinds for your windows might not be necessary. A quick fix is to use vane savers to repair the hole.
Vane savers are basically plastic adhesives or metal spines you can easily stick or insert at the top of a vertical panel to repair holes. These are small tabs but they will come in handy in the future when fixing worn blinds.
Both plastic and metal vane savers get the job done but the metal spines might have a longer life span. However, plastic vane savers are super easy to use to repair broken vanes. Just stick the plastic tab on the worn-out area and the blind will look as good as new.
For metal spines, we recommend this box of eco-friendly vane savers, which contains 30 high-quality metal repair vanes. The vanes are easy to slide onto a broken blind and their white color is a match for most blinds including PVC and fabric vertical blinds.
Looking to save a couple of bucks? Opt for high-quality plastic vane savers that you can easily stick on your blinds. We love these in particular. Being transparent, these vane savers are almost unnoticeable on your blinds and they will complement any color of blinds.
Follow these steps to fix a broken blind using a vane saver. You can also check out this helpful video for a visual tutorial.
- Detach the connecting chain
Some blinds systems come with a plastic chain that connects the vanes. If your system has a chain, you will first need to remove it before unhooking the vanes. The chain is fastened to a plastic hook at the end of each vane. Twist this hook on the blind you want to unhook to release the blind from the other remaining blinds.
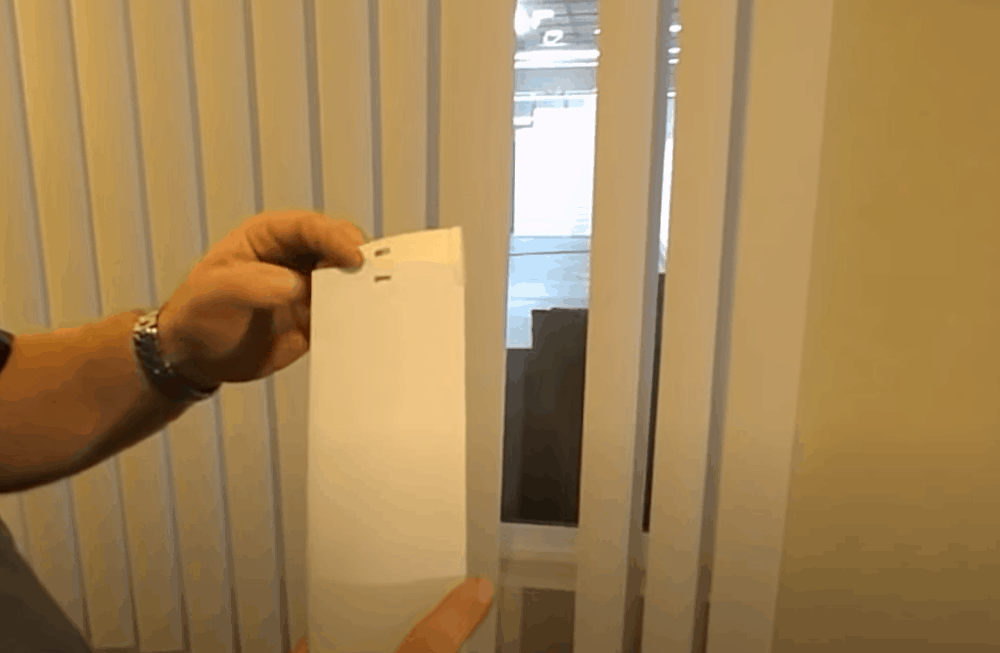
- Remove the problem vane
Lift the blind and get it off the hook. If the blind is held tightly in place by the hook, use something flat like a credit card to lift the hook and make space for the vane to slide out.
- Fix the vane saver
After removing the problem vane off the hook, slide the vane saver over the hole and hang the repaired vane back in place.
Pro Tip: If your vane is torn and jagged at the top, trim off this portion using a sharp pair of scissors before sliding on the vane saver. In addition to being a quick and easy fix, vane savers can also increase the length of an individual panel by ½ inches.
Step 3: Repair crooked vanes
Anything from improper use to strong winds can twist blinds out of shape. A crooked vane is a cog in the wheel and it will prevent the blinds from closing properly. Be extra careful when fixing twisted vanes to avoid breaking the entire blind and therefore needing a replacement.
To twist the vane back into place, firmly grab the stem and hold it in place. Then, you can safely turn the vane to its correct position.
If the vane does not easily return to its original position, the problem could be in the gear holding the stem carrier stem. To realign the gears, unhook the blind using the method outlined above then carefully turn the stem clockwise and anticlockwise.
Once the stem turns without any friction it means the gear is realigned. Hook the vane back and the problem should now be solved.
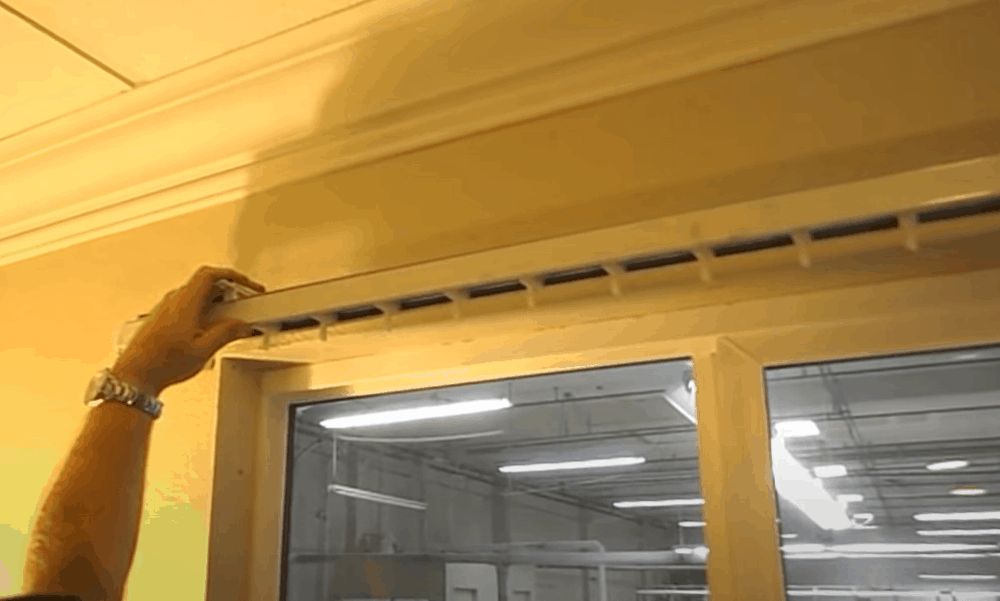
Step 4: Inspect and replace a faulty stem carrier
Stem carriers are the little hooks that connect each vane to the main rod on which the blinds hang from. One faulty stem can jam the entire blind system. Fortunately, stems are replaceable.
To replace a faulty stem follow these steps:
- Open the blinds first
Once the blinds are in the open position, unhook the blind from the faulty stem. Follow the steps that we have outlined above in step 2 to remove a blind from a problem stem.
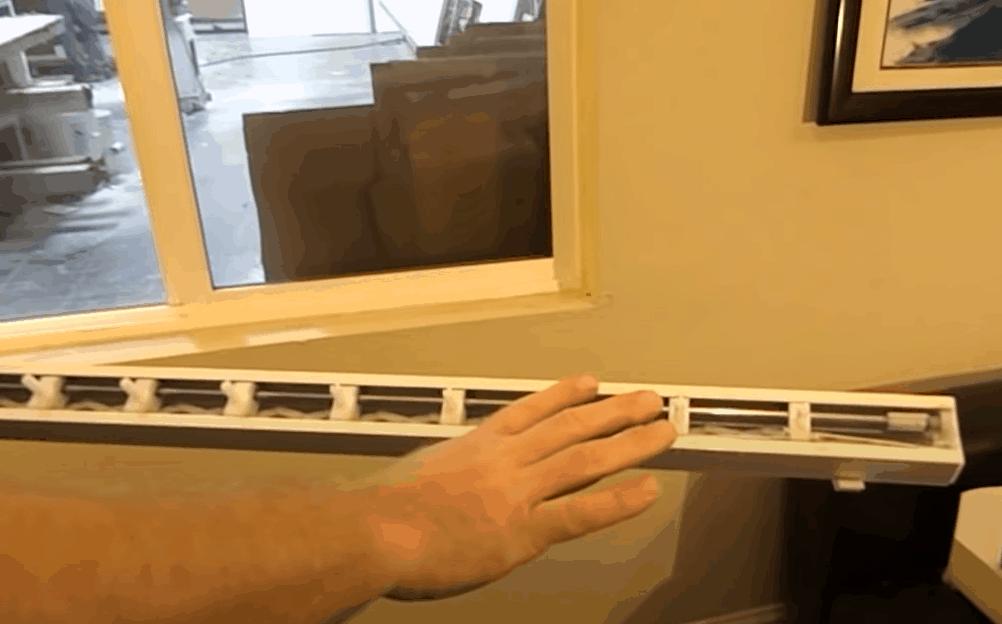
- Remove the stem
Using your fingers, grab the stem and push it to the right to remove it from the c-shaped carrier. As you push out the stem, be firm enough to disconnect it from the carrier but also gentle to avoid breaking the stem (you will need it when buying a replacement) and damaging the carrier and rod systems.
- Take out the gear
Once the stem is out, use a needle head pliers and flathead screwdriver to take out the gear from the c-shaped carrier.
- Buy a new stem and gear system
You can buy replacement stems and gears from your local hardware. Just be sure to bring the original stem to buy a similar replacement. You must buy the same type of stem and gear so that they fit snugly in the carrier.
- Replace the new stem and gear
Fit the new gear back into the carrier space and then push the stem into the carrier. Make sure that the replaced stem faces the same direction as the other stems.
- Check that the stem is working
Pull the thread as if you are opening and closing the blind. This will help to ascertain that the old and new stems are working properly. Check out this video for a great explainer on how to remove and replace a faulty stem.
Once you have properly fixed the stem, you can hook the blind back and test that everything works just fine.
Extended Tips
- Leaving your window treatments undusted for too long can lead to a buildup of dust and debris, which might jam up the stem and gear system, and make it difficult to open and close your blinds. You do not have to clean daily or even weekly but try to vacuum your blinds once every month to keep them in the best shape.
- Repair defects as soon as you notice them. Ignoring small repairs can cause huge damage to your blinds, forcing you to buy a new system. Kits such as vane savers are easily accessible and pocket-friendly and can help to mitigate further damage to your blinds.
Use easy hacks to fix common problems affecting your vertical blinds
Blinds not only enhance a room's aesthetics; they are also a practical and flexible solution for light control. Problems such as twisting, overlapping, jamming, and misalignment are common with these window treatments and they can be frustrating to repair.
Unless the time has come to replace your blinds, you can fix most if not all of these kinks using readily available tools and supplies, and of course, a little bit of patience. Be sure to follow our tips and refer to the resources we've recommended to easily fix vertical blinds.
how to fix vertical blinds that won't rotate
Source: https://www.wcmanet.org/how-to-fix-vertical-blinds/
Posted by: brunsmurdelize.blogspot.com
0 Response to "how to fix vertical blinds that won't rotate"
Post a Comment